Laser cutting
- Oct 25, 2022
- 1 min read
Updated: Nov 5, 2022
In this Blog I will talk about laser cutting. Namely the hazards, types of materials we can and cannot cut, how to operate the laser cutter, what to do and not to do in case of fire, and finally my learning reflection.
HAZARDS
Hazards | Safety control measures | Pictures to support the explanation |
| Adminstrative - Users are told to not stare at the laser beam |  |
2. Cutting materials containing chlorine - chlroine gas may be emitted | Engineering- Exhaust is placed to remove gases Administrative - users are told not to cut these materials | 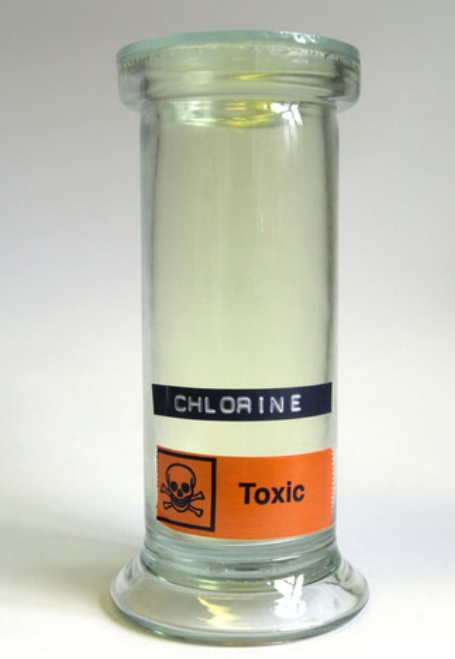 |
3. Cutting metals - laser beam may be reflected off metal, may cause fire due to excessive sparks | Administrative - users are told not to use metal |  |
4. Leaving the laser cutter running unattended - fire may start | Engineering - Fire extinguisher placed nearby |  |
MATERIALS
Materials we CAN cut | Photo of material |
Wood (up to 6mm) • Plywood • Natural Wood (contains oils that causes small fires) • MDF (burnt marks may occur) |  |
Acrylic (up to 5mm) |  |
Cardboard (burnt marks and fire may occur) |  |
Paper (burnt marks and fire may occur) • Art Card • Technical Board |  |
Materials we CANNOT cut | Photo of material |
Metals |  |
PVC |  |
Foam |  |
Rubber |  |
OPERATING
Start-up: Makerspace
1. Switch on the power for the laser cutter, air assist from the switches behind the PC 2. Switch on the fume extractor from the switch on the wall on the right of the laser cutter machine Extinguisher located inside laser cutter room for makerspace | 2.   |
Importing file to corel-draw:
1.Select File Import 2.Select your .DXF file 3. Press import |  |
Changing line width/colour based on requirements: Vector cut/Vector engraving
Select/highlight the area that you want to apply the settings to first
For both vector cut and vector engraving, 1.Double-click on the pen tool at the bottom left 2. Select colour drop-down list 3.A pop-up will appear, select RGB |   |
For vector cut, Apply pen outline colour as RGB Red:255 Apply line width as hairline For vector engraving, Apply pen outline colour as RGB Green:255 Apply line width as hairline |    |
Changing fill colour based on requirements: Engraving
1.Double-click on fill tool at bottom right 2.Select solid colour icon 3.Select RGB in drop-down list 4.Apply RGB green:255 5.Click ‘ok’ |  
 |
Setting software:
1. Send to print by selecting file and clicking ‘print’ 2. Pop-up will appear 3.Click on settings icon 4. Settings will appear |   |
1. Press on load 2.Select file that corresponds to thickness and name of material 3. Change power, speed PPI according to desired 4. Click ‘apply’ and ‘ok’ 5.Click print on the previous pop-up |   |
1.Open UCP 2.Click on power button on screen 3.Adjust design position and ensure lazer head is placed on the cutting area by using the settings in UCP 4.Click on Estimate time Button and press the START button to check for the timing |  

 |
Starting the laser cutter:
1.Shut the lid gently 2.Press either the green play button on UCP or the Physical button on the Laser cutter | 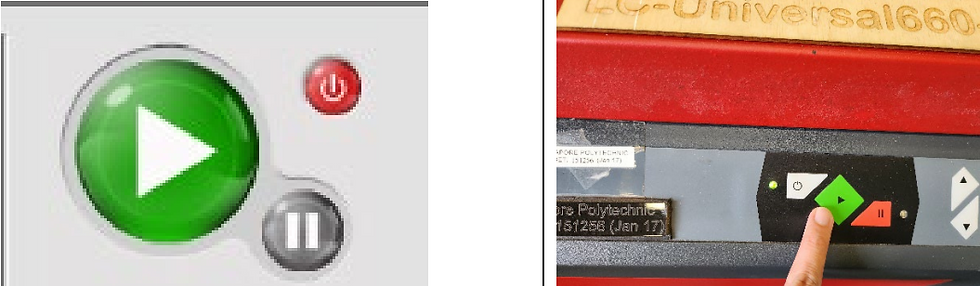 |
Shutdown: 1) When cut is done, ensure laser is off and wait for 1 minute 2) Remove any unwanted materials and dispose them 3) Deactivate the Laser cutter 4) Switch off the necessary switches 5) You need not shut down the PC |
IN CASE OF FIRE
DOs | DONT's |
Immediately hit the emergency button / switch off the power. Open up the cover to cut off the laser. Attempt to extinguish the fire by blowing on it or removing the material from the laser cutter h Alert the staff in charge 
| Continue cutting the material if fire persists for more than 30 seconds  |
MY LEARNING REFLECTION
Laser cutting seems like a very fun and useful activity that I can utilise for product making. I have yet to make my own designs, but from the laser cutting test, it was very efficient and the desings made that day were very cute and quite detailed for the scoring. That being said, I still need practice in laser cutting as it is a dangerous piece of equipment which i gathered from all the learning packages and safety quizzes, and hopefully I can memorsie the SOP :) I find that laser cutting has its pros and cons comapred to 3D printing, pros such as its speed but for the cons some designs I feel can only be made by the 3D printer, which goes both ways. Overall it was a fruitful experience and I hope to use the laser cutter more frequently to create some cool stuff.


Comments